
Understanding the difference between aperture stop and vignetting is essential for photographers who want to master their craft and achieve professional-quality images.
🎯 The Foundation: What You Need to Know First
Photography is filled with technical terms that often confuse both beginners and intermediate photographers. Among these concepts, aperture stop and vignetting stand out as two phenomena that are frequently misunderstood or conflated. While they’re related to how light travels through your lens, they represent fundamentally different optical concepts that affect your images in distinct ways.
The confusion between these two terms is understandable. Both involve the control or reduction of light reaching your camera sensor, and both are influenced by your lens’s physical characteristics. However, recognizing the differences between them will dramatically improve your ability to control your photographic output and troubleshoot unexpected results.
📸 Aperture Stop: The Gatekeeper of Light
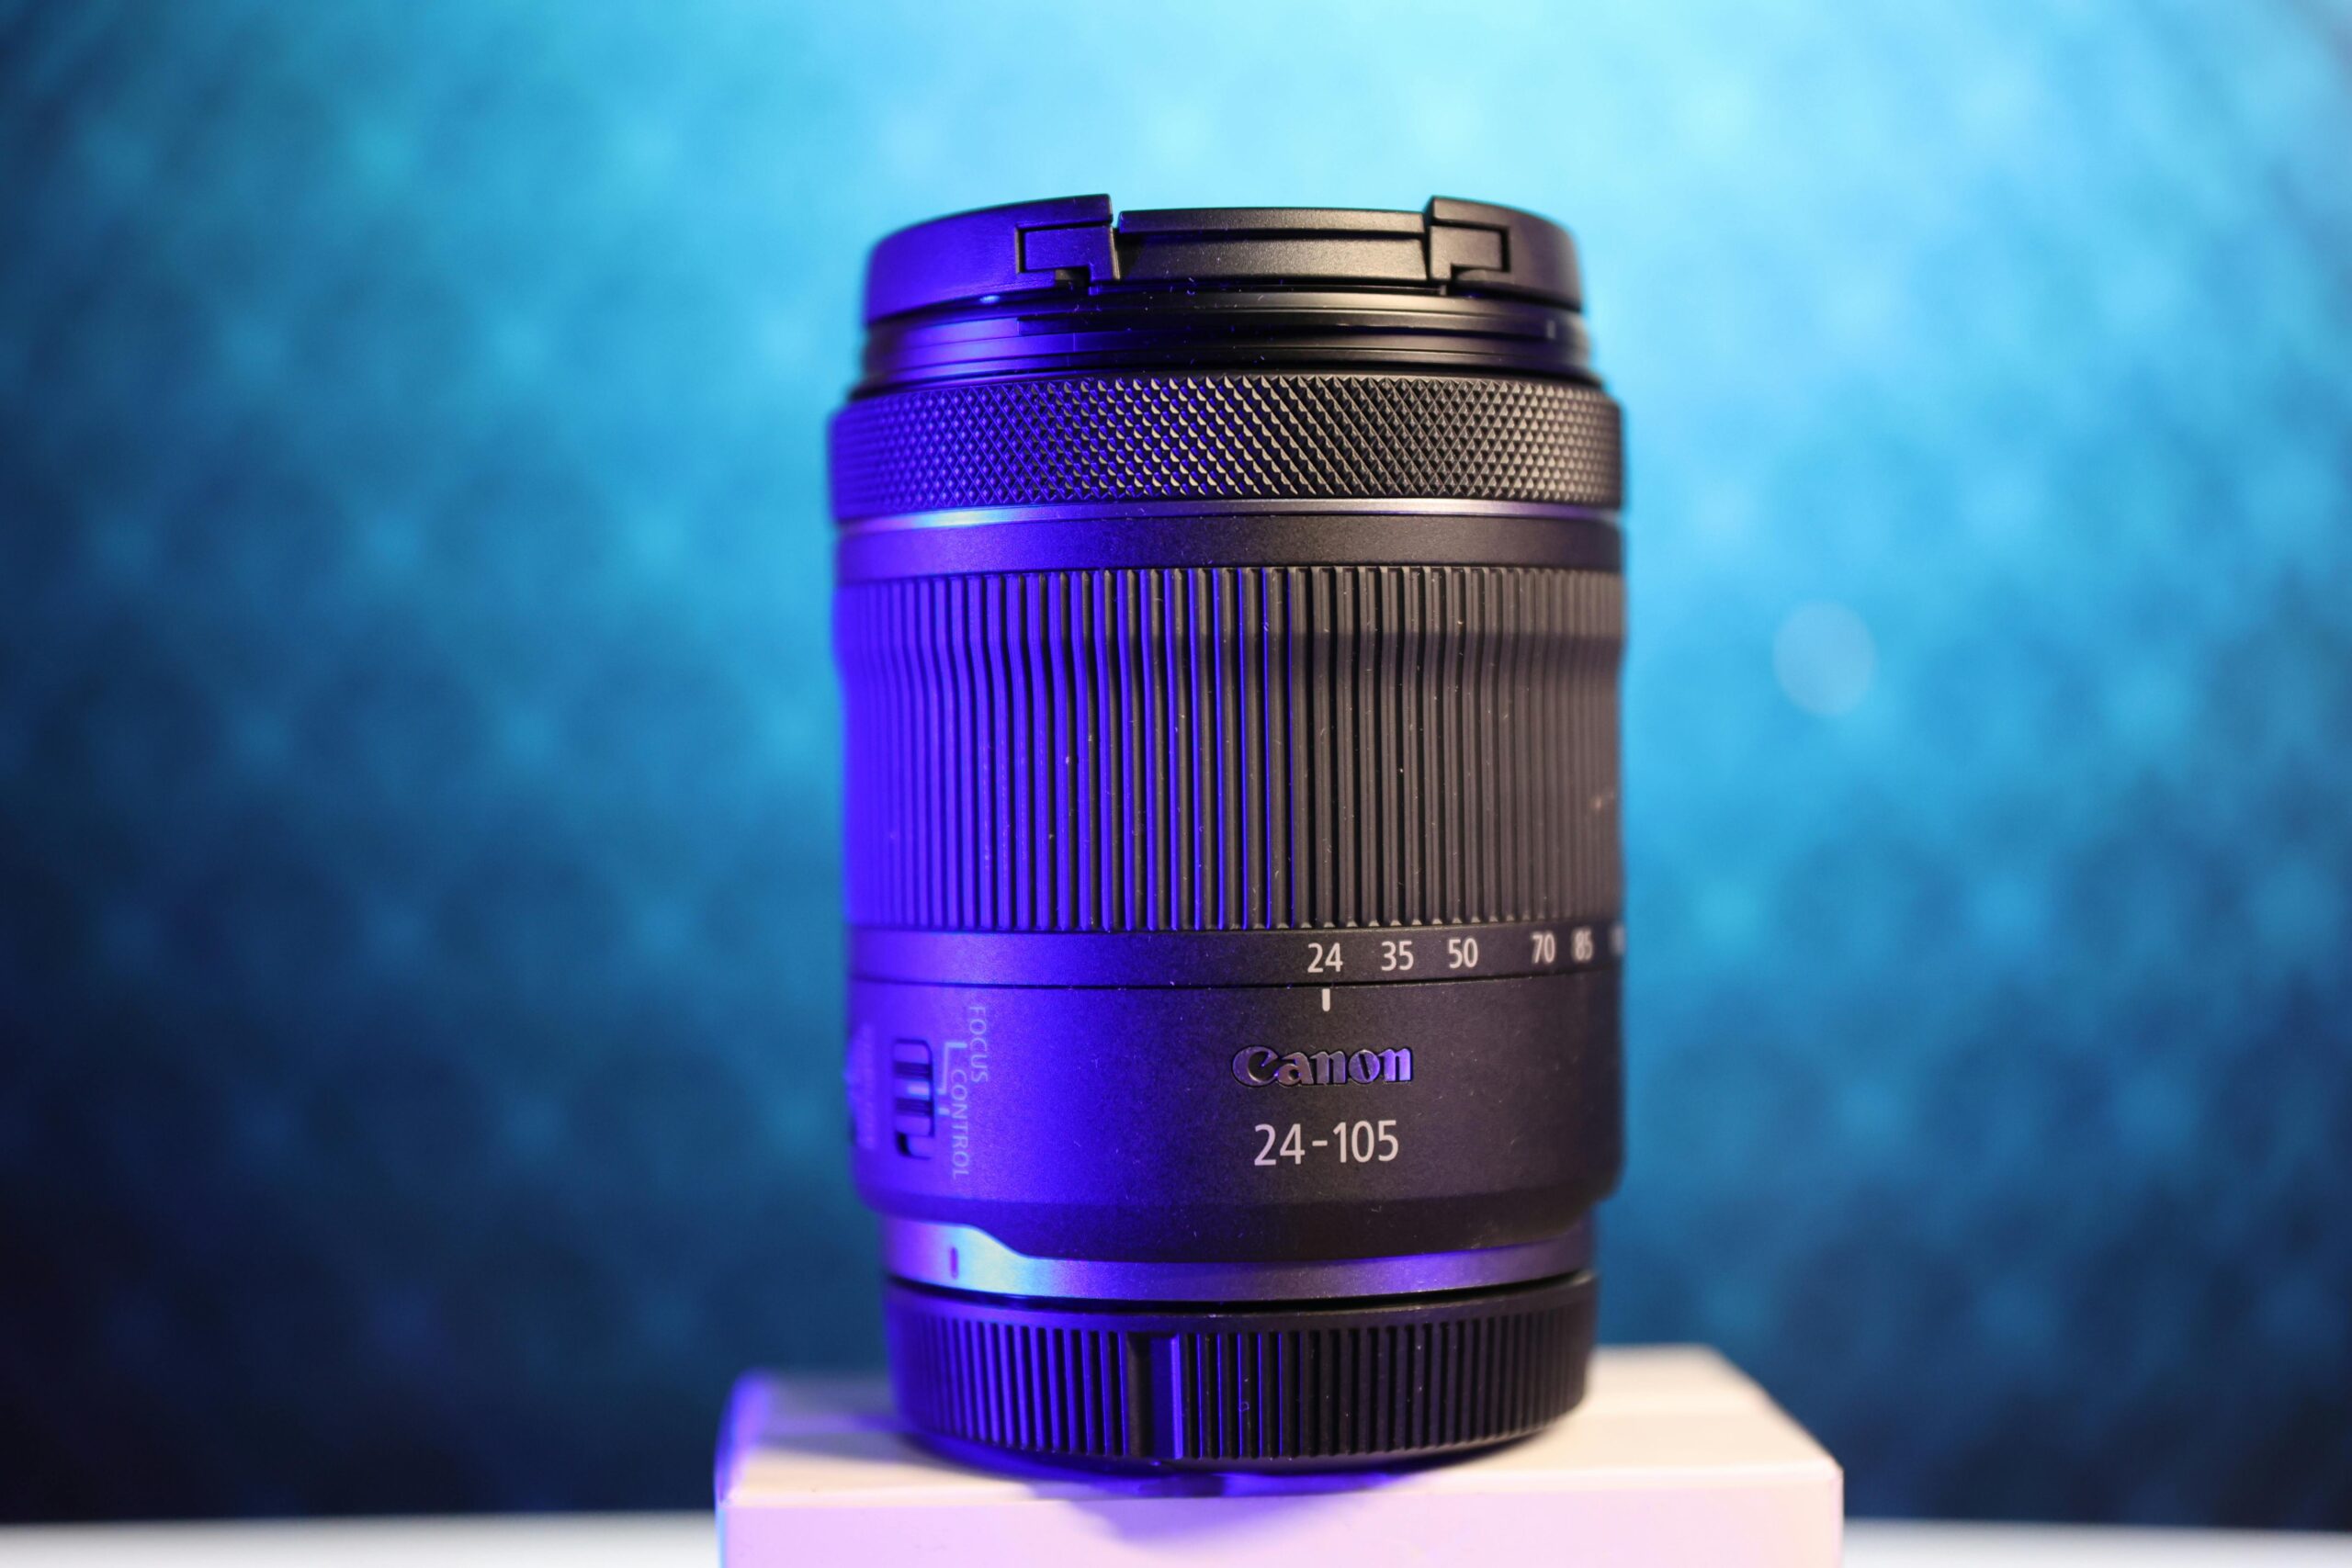
The aperture stop, often simply called the aperture, is the physical opening within your lens that controls the amount of light passing through to the sensor. It’s typically composed of a series of blades that form an adjustable diaphragm, allowing you to change the size of the opening.
When photographers talk about shooting at f/2.8 or f/16, they’re referring to the aperture stop setting. This adjustable mechanism serves multiple critical functions in photography beyond just controlling light intensity. It directly influences depth of field, sharpness characteristics, and even the quality of out-of-focus areas in your images.
The Technical Side of Aperture Stops
The aperture stop is the limiting aperture that determines the cone angle of light rays that can successfully pass through the optical system. In most camera lenses, this is the iris diaphragm you can adjust, but in some optical systems, it might be a fixed element.
The f-number (f-stop) represents the ratio between the lens’s focal length and the diameter of the aperture opening. A smaller f-number means a larger opening, allowing more light to enter. This inverse relationship confuses many beginners, but it’s fundamental to understanding exposure control.
How Aperture Stop Affects Your Images
When you adjust your aperture stop, you’re making deliberate creative and technical decisions that affect several image characteristics:
- Exposure control: Wider apertures allow more light, enabling faster shutter speeds
- Depth of field: Larger openings create shallower depth of field, isolating subjects
- Diffraction: Very small apertures can actually reduce sharpness due to light diffraction
- Bokeh quality: The aperture shape and size influence the appearance of out-of-focus areas
- Lens sharpness: Most lenses perform best when stopped down 1-2 stops from wide open
🌑 Vignetting: The Gradual Darkening Mystery
Vignetting refers to the reduction of image brightness toward the periphery compared to the image center. Unlike the aperture stop, which you control directly, vignetting is often an unwanted optical phenomenon, though it can also be used creatively or added in post-processing.
This darkening effect creates images where the corners and edges appear noticeably darker than the center. While sometimes considered a defect, vignetting has become a popular stylistic choice in portrait and artistic photography, adding focus to the central subject.
The Four Types of Vignetting
Understanding the different causes of vignetting helps you predict, prevent, or intentionally create this effect:
Optical Vignetting: This occurs when physical lens elements block light rays traveling at oblique angles toward the sensor edges. It’s most pronounced at wider apertures and improves significantly when you stop down the lens. This type is inherent to lens design and varies between different lens models.
Mechanical Vignetting: External factors like lens hoods, filters, or multiple stacked filters can physically block light from reaching the image corners. This type of vignetting is preventable by removing obstructions or using appropriate accessories for your lens diameter.
Natural Vignetting: Also called natural illumination falloff, this occurs because light rays striking the sensor at oblique angles travel a longer distance than perpendicular rays, resulting in less illumination. This follows the cos⁴ law and is a fundamental optical principle affecting all lenses.
Pixel Vignetting: Digital sensors are more sensitive to light arriving perpendicular to their surface. Oblique light rays are less efficiently captured by pixels, causing darkening at image edges. This effect is particularly noticeable in cameras with smaller pixel pitch.
🔍 The Critical Differences: Side by Side
Now that we’ve established what each term means individually, let’s explore the key distinctions that separate aperture stop from vignetting:
| Characteristic | Aperture Stop | Vignetting |
|---|---|---|
| Nature | Controllable mechanical element | Optical phenomenon or effect |
| Purpose | Intentional light control | Usually unintentional (except creative use) |
| Uniformity | Affects entire frame equally | Affects edges/corners more than center |
| Adjustability | Directly adjustable by photographer | Indirectly influenced by settings |
| Impact | Overall exposure, DOF, sharpness | Brightness distribution across frame |
⚙️ How Aperture Stop Influences Vignetting
Here’s where the relationship between these two concepts becomes particularly interesting. Your aperture stop setting directly affects the amount of vignetting visible in your images, even though they remain distinct phenomena.
When you shoot with your lens wide open at its maximum aperture, vignetting is typically at its most pronounced. This happens because light rays traveling at extreme angles through the lens elements are more likely to be partially blocked or fall victim to optical limitations.
As you close down your aperture (increase the f-number), you’re effectively reducing the cone angle of light entering the lens. This narrower light path means fewer oblique rays reach the sensor edges, significantly reducing optical vignetting. Most lenses show dramatically improved corner illumination by f/5.6 or f/8.
The Sweet Spot Strategy
Professional photographers understand that every lens has an optimal aperture range where vignetting is minimal while sharpness is maximized. This “sweet spot” typically exists between f/5.6 and f/11 for most lenses, though it varies by design.
Finding your lens’s sweet spot involves testing it at different apertures and examining corner brightness and overall sharpness. This knowledge allows you to make informed decisions when choosing settings based on whether you want to minimize or embrace vignetting.
🎨 Creative Applications and Practical Solutions
Understanding the distinction between aperture stop and vignetting opens up creative possibilities while also providing solutions to technical challenges.
When to Embrace Vignetting
Vignetting isn’t always a problem to be solved. Portrait photographers often appreciate natural vignetting because it draws the viewer’s eye toward the centered subject. The gradual darkening creates a natural frame that enhances subject isolation without harsh borders.
Fine art and moody photography styles frequently incorporate pronounced vignetting to establish atmosphere and emotion. The darker edges contribute to intimate, dramatic, or nostalgic feelings that complement certain subjects and narratives.
When to Eliminate Vignetting
Landscape and architectural photography typically demand even illumination across the entire frame. In these genres, vignetting distracts from the subject matter and creates an unprofessional appearance.
Product and commercial photography also require uniform lighting to accurately represent items and maintain professional standards. Clients expect consistent brightness from corner to corner in these applications.
🛠️ Practical Techniques for Control
Mastering the relationship between aperture stop and vignetting involves both in-camera techniques and post-processing solutions.
In-Camera Methods
Stop down your aperture at least two stops from wide open when you need to minimize vignetting. This simple adjustment dramatically reduces corner darkening in most lenses without sacrificing too much light-gathering ability.
Remove unnecessary filters and ensure your lens hood is the correct model for your specific lens. Mechanical vignetting from improper accessories is completely preventable and often goes unnoticed until you review images carefully.
Consider lens choice for specific applications. Some lenses exhibit more vignetting than others, and researching optical performance before purchase helps you select tools appropriate for your primary photography style.
Post-Processing Corrections
Modern editing software includes powerful vignetting correction tools. Lightroom and Capture One offer lens profile corrections that automatically compensate for known vignetting characteristics of specific lens models.
Manual vignetting adjustment gives you complete control over the amount and feathering of correction or enhancement. These sliders allow you to either eliminate unwanted darkening or add stylistic vignetting with precision.
🎓 Common Misconceptions Debunked
Several persistent myths about aperture stop and vignetting continue to circulate among photography communities. Let’s address the most common misunderstandings:
Myth: Vignetting only occurs with cheap lenses. Reality: Even premium professional lenses exhibit vignetting to varying degrees, particularly at wider apertures. The amount varies, but no lens is completely immune to natural vignetting due to fundamental optical principles.
Myth: Stopping down always improves image quality. Reality: While stopping down reduces vignetting, extremely small apertures introduce diffraction that reduces sharpness. There’s an optimal range for each lens where both factors are balanced.
Myth: Vignetting and aperture stop are the same thing. Reality: As we’ve explored throughout this article, these are distinct concepts—one is a mechanical control element, the other is an optical effect influenced by multiple factors including that control element.
📊 Making Informed Decisions in Real Scenarios
Understanding these concepts theoretically is valuable, but applying this knowledge in practical shooting situations separates competent photographers from masters of the craft.
When shooting a portrait with a fast prime lens, you might choose f/1.8 for beautiful subject isolation, accepting the vignetting that comes with this wide aperture as a creative enhancement rather than a flaw. The darkened corners naturally frame your subject’s face.
During a landscape shoot where even illumination matters, you’d select f/8 or f/11, knowing this aperture stop setting minimizes vignetting while maintaining excellent sharpness throughout the frame. You’re making a conscious decision based on understanding both concepts.
In low-light event photography, you might need to shoot wide open for exposure reasons, then plan to correct vignetting in post-processing. This decision requires understanding that your aperture stop choice is driven by exposure needs, with vignetting correction becoming part of your workflow.
💡 Advanced Considerations for Enthusiasts
As you develop expertise, additional nuances in the relationship between aperture stop and vignetting become relevant to your photographic practice.
Full-frame sensors typically show more pronounced vignetting than crop sensors when using the same lens at the same aperture. This occurs because the full-frame sensor uses the entire image circle where light falloff is most dramatic at the edges.
Zoom lenses often exhibit variable vignetting characteristics at different focal lengths. The same f/5.6 aperture might produce minimal vignetting at 24mm but noticeable darkening at 70mm on the same lens.
Understanding pupil aberration and its relationship to vignetting helps explain why some lenses perform better than others. This advanced optical concept affects how the aperture stop appears when viewed from different angles through the lens elements.
🌟 Your Path to Photographic Excellence
Distinguishing between aperture stop and vignetting represents more than academic knowledge—it empowers you to make conscious creative decisions rather than stumbling through trial and error. This understanding transforms how you approach every photographic situation.
The aperture stop remains your primary tool for controlling exposure, depth of field, and overall image characteristics. It’s an active decision you make for every shot, balancing technical requirements with creative vision.
Vignetting, whether natural or induced, becomes a characteristic you can predict, prevent, accept, or enhance based on your specific goals for each image. Rather than viewing it as a mysterious defect, you recognize it as one factor among many in your optical system.
Practice examining your own lenses at various aperture settings to understand their specific vignetting characteristics. This hands-on experience builds intuitive knowledge that becomes second nature during shoots, allowing you to focus on composition and moment rather than technical troubleshooting.
The interplay between aperture stop and vignetting exemplifies how photography combines art and science. Technical understanding provides the foundation, but your creative vision determines how you apply that knowledge to create compelling images that communicate your unique perspective.
By mastering these concepts, you’ve added powerful tools to your photographic toolkit. You can now confidently explain why images appear certain ways, predict optical behavior in different shooting scenarios, and make informed decisions that align technical execution with creative intent. This knowledge transforms you from someone who takes pictures into a photographer who creates images with intention and understanding.


