
Fast lenses in the f/2–f/4 range offer incredible creative potential, but understanding aperture calibration is essential to maximize their optical performance and consistency.
🔍 Understanding Fast Optics: Why Aperture Matters
Fast lenses—those with maximum apertures between f/2 and f/4—represent a sweet spot in optical design. They offer exceptional low-light performance, beautiful bokeh, and superior subject isolation compared to slower alternatives. However, the wider the aperture, the more critical precise calibration becomes for achieving consistent, sharp results.
When photographers invest in premium glass with wide apertures, they expect outstanding performance. Yet many users struggle with inconsistent sharpness, focus accuracy issues, or unexpected depth-of-field variations. Often, these problems stem not from lens quality but from improper aperture calibration or misunderstanding how these optical systems function.
Aperture calibration ensures that when you set your lens to f/2.8, it truly operates at f/2.8—not f/2.6 or f/3.2. This precision affects exposure consistency, depth-of-field accuracy, and overall image quality. Professional photographers and serious enthusiasts understand that mastering this technical aspect separates good images from exceptional ones.
The Science Behind Aperture Calibration
Aperture calibration involves precisely aligning the mechanical aperture mechanism with the electronic communication between lens and camera body. Modern lenses use electromagnetic diaphragms controlled by the camera, creating potential points where miscommunication or mechanical variance can occur.
The aperture blades must close to exact positions corresponding to specific f-stop values. Even minor deviations—as small as 1/6th of a stop—can impact image quality, particularly at wider apertures where depth-of-field is already razor-thin. Manufacturing tolerances, wear over time, and environmental factors can all contribute to calibration drift.
How Aperture Mechanics Work in Fast Lenses
Fast lenses typically feature more complex aperture mechanisms than slower alternatives. The larger maximum aperture requires more sophisticated blade arrangements and precise mechanical tolerances. Many professional f/2 and f/2.8 lenses utilize nine or more aperture blades arranged in a circular pattern to create pleasing bokeh.
These blades must move smoothly and stop accurately at predetermined positions. The camera sends electronic signals to the lens actuator, which mechanically adjusts the diaphragm opening. Temperature changes, humidity, and physical wear can affect this delicate mechanism over time.
🎯 Identifying Aperture Calibration Issues
Recognizing when your fast lens requires aperture calibration is the first step toward optimal performance. Several telltale signs indicate potential calibration problems that deserve attention.
Common Symptoms of Miscalibration
Inconsistent exposure represents the most obvious symptom. If identical shots under controlled lighting show exposure variations of 1/3 stop or more, aperture calibration may be the culprit. This becomes particularly noticeable when shooting test charts or studio work with constant lighting.
Focus accuracy problems can also indicate aperture issues. Since autofocus systems calibrate for specific apertures (typically maximum or near-maximum), miscalibrated apertures can confuse the focusing mechanism. You might achieve sharp focus at f/4 but consistently miss at f/2, even with proper AF fine-tuning.
Unexpected depth-of-field is another red flag. If your f/2.8 lens seems to produce depth-of-field resembling f/3.5 or f/2, the aperture may not be stopping down or opening to the correct physical size.
Testing Your Lens Aperture Accuracy
Performing systematic aperture tests requires controlled conditions and methodical approach. Set up your camera on a sturdy tripod in manual mode with consistent lighting. Use identical settings across multiple shots, changing only the aperture value.
Photograph a detailed test chart or high-contrast subject at each aperture stop from wide open through f/8. Review the images for exposure consistency using your camera’s histogram and exposure data. Variations greater than 1/6th stop between consecutive aperture settings suggest calibration issues.
For more precise testing, photograph a point light source against a dark background at various apertures. The size and shape of the light disk directly reflects the actual aperture opening, revealing mechanical inconsistencies or calibration errors.
Professional Calibration Techniques for f/2–f/4 Lenses
While some calibration adjustments require professional service, photographers can perform several diagnostic and corrective procedures to optimize their fast lens performance.
In-Camera Aperture Fine-Tuning
Many modern camera bodies offer aperture fine-tuning alongside autofocus adjustments. This feature allows micro-adjustments to how the camera interprets aperture values from specific lenses. Access these settings through your camera’s custom function menu, typically under lens calibration or fine-tuning options.
Document your current settings before making changes. Adjust in small increments (1/6th stop adjustments are typical) and test thoroughly between adjustments. This process requires patience but can dramatically improve consistency without professional service.
Mechanical Cleaning and Maintenance
Dust, debris, and lubricant degradation can affect aperture mechanism precision. While internal cleaning requires professional service, photographers can perform external maintenance to support optimal function.
Clean the lens mount contacts regularly using appropriate cleaning solutions designed for electronic contacts. These connections transmit aperture commands from camera to lens, and oxidation or contamination can cause communication errors.
Exercise the aperture mechanism regularly if lenses sit unused for extended periods. Mount the lens, enable aperture preview if available, and cycle through various aperture settings. This simple practice helps prevent lubricant migration and mechanical stiffness.
⚙️ Advanced Calibration Strategies for Different Scenarios
Different photographic applications demand different calibration priorities. Understanding these nuances helps you optimize aperture performance for your specific needs.
Portrait Photography with Fast Primes
Portrait photographers using f/1.4 to f/2.8 primes require impeccable wide-open performance. Calibration priorities focus on maximum aperture accuracy and smooth transitions through the first two stops.
Test and calibrate specifically for your most-used aperture range. If you consistently shoot at f/2 on an f/1.4 lens, ensure that specific setting demonstrates perfect accuracy. Many photographers find their lenses perform best one stop down from maximum aperture—proper calibration can extend this “sweet spot” even wider.
Event and Wedding Photography
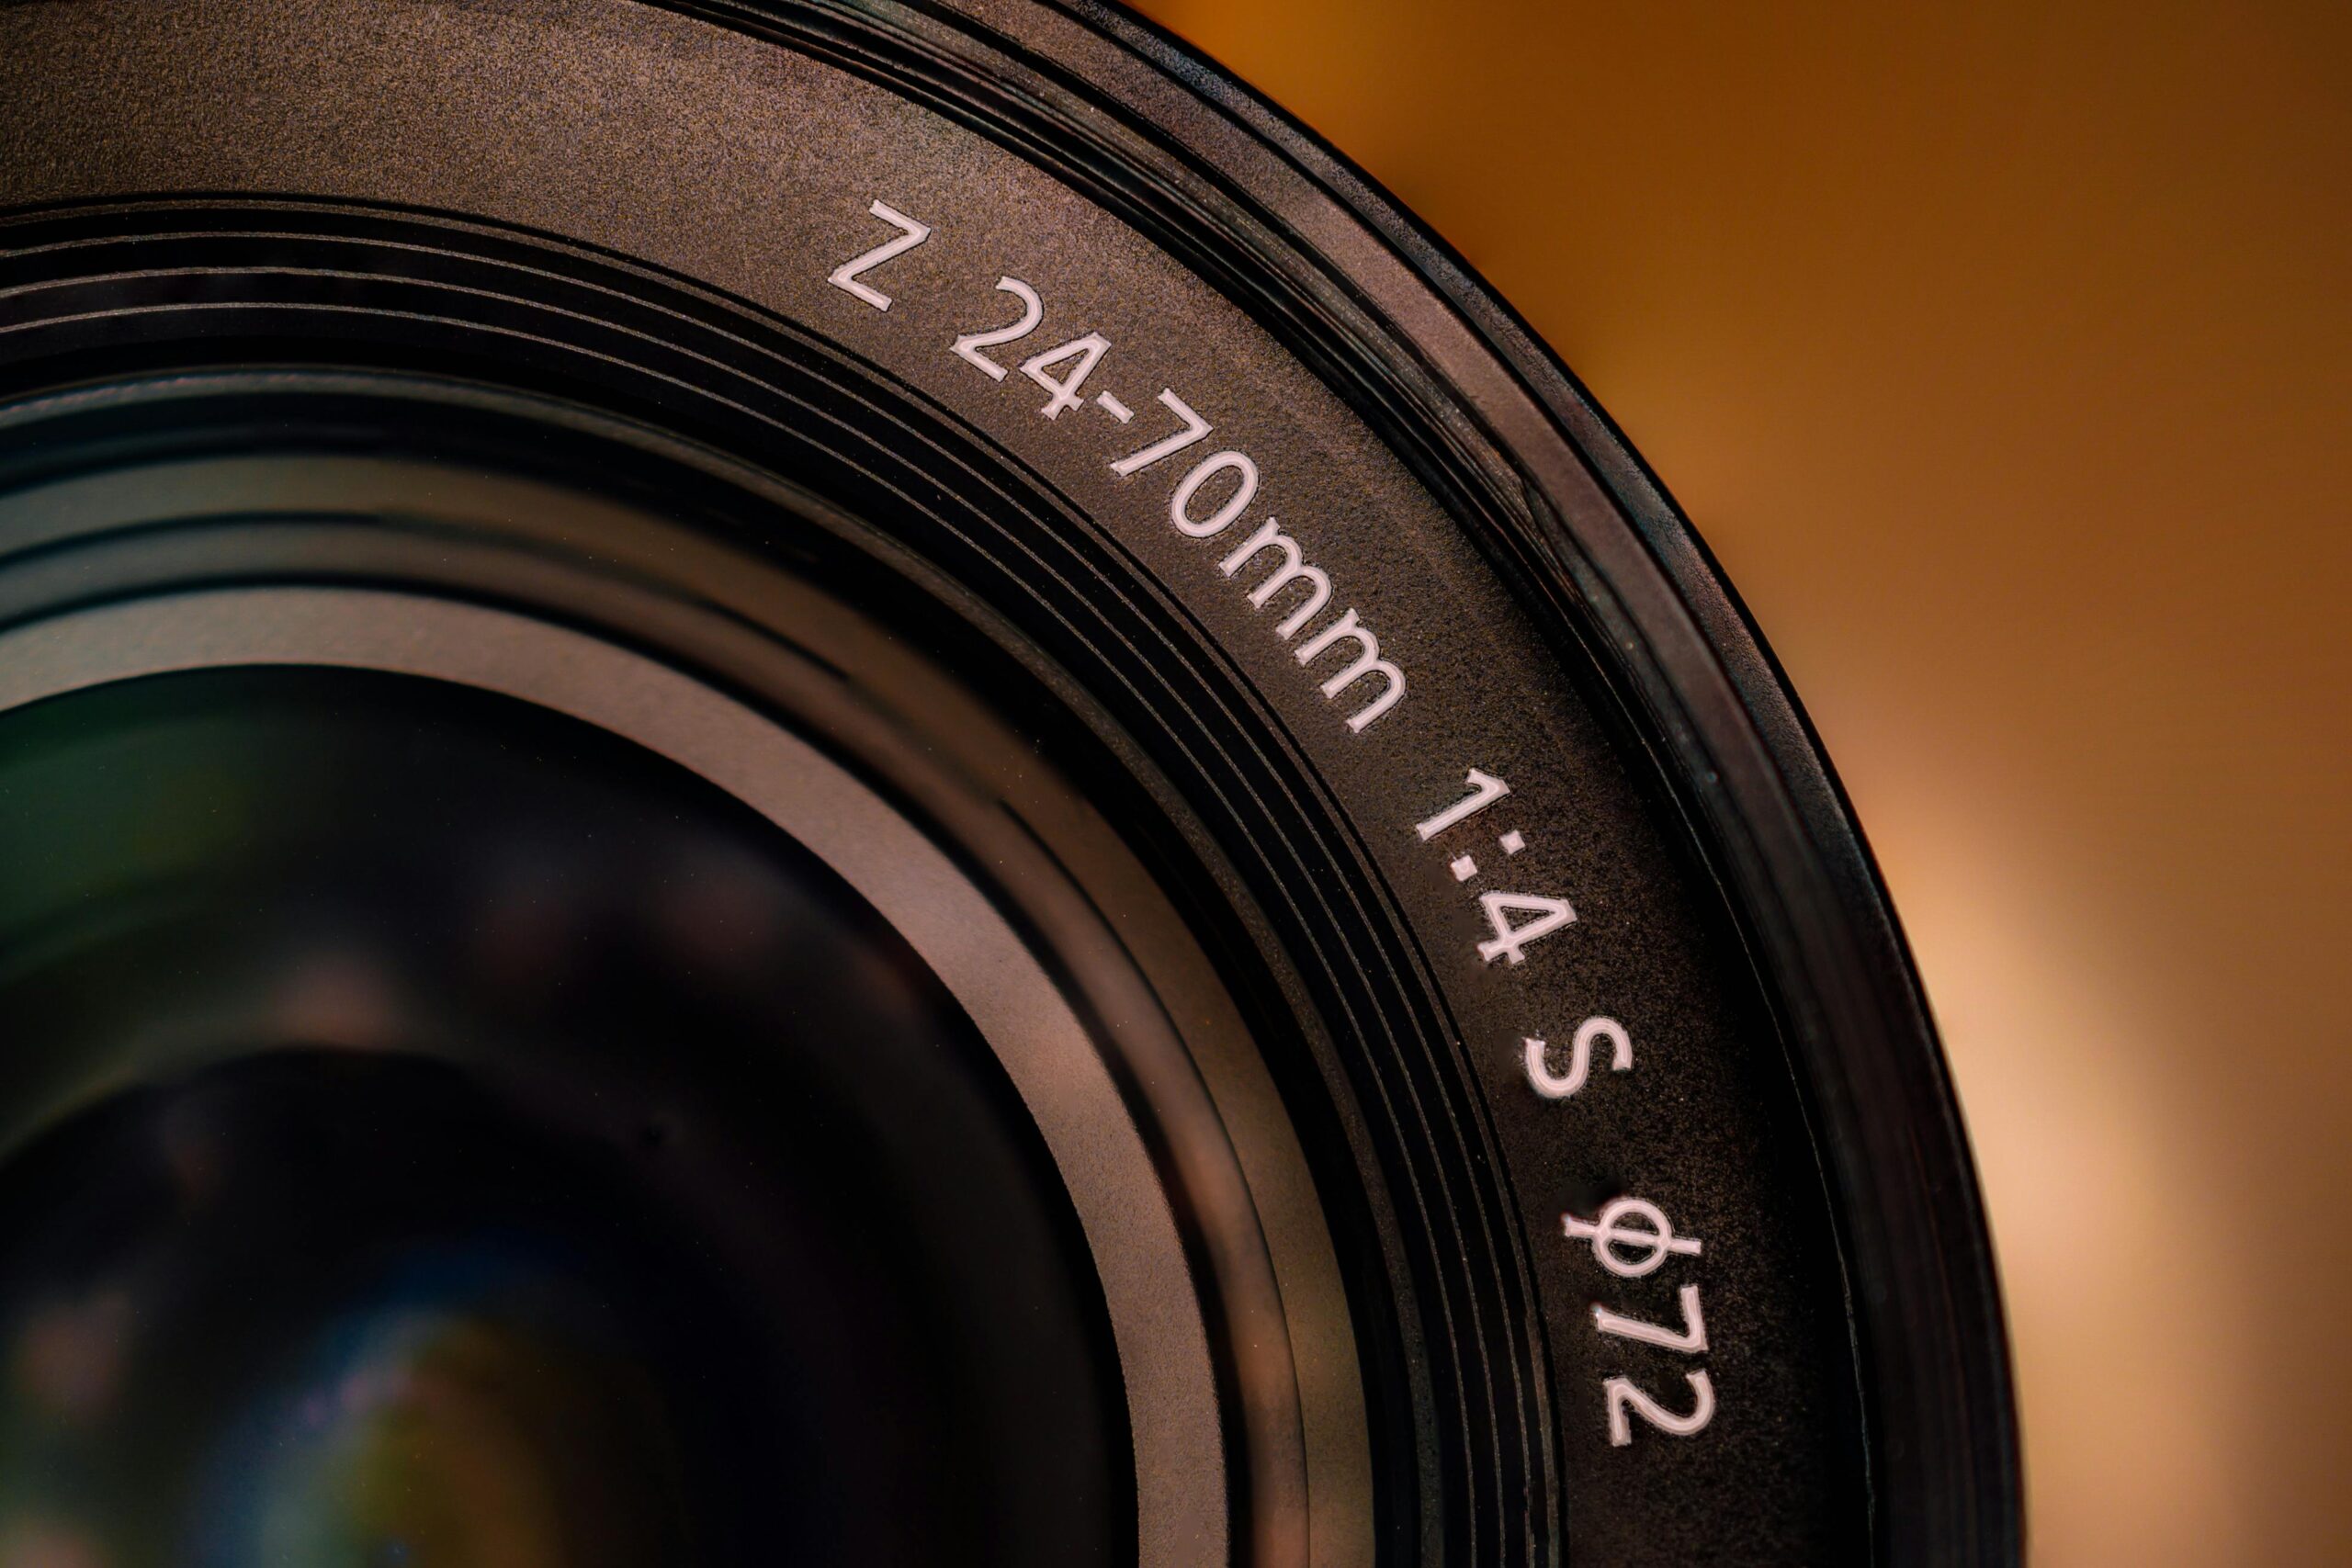
Event photographers working in challenging lighting conditions depend on fast zoom lenses like 24-70mm f/2.8 or 70-200mm f/2.8. These workhorses must deliver consistent exposure across their zoom range and through rapid aperture changes.
Calibration testing should verify consistency at multiple focal lengths. Test your 24-70mm at 24mm, 50mm, and 70mm across the f/2.8 to f/5.6 range. Zoom lenses sometimes exhibit aperture variations at different focal lengths due to mechanical complexity.
Landscape Photography at Optimal Apertures
Even landscape photographers using f/8 to f/11 benefit from proper calibration of their fast lenses. The aperture’s starting position (maximum aperture) affects stopping-down accuracy throughout the range.
A miscalibrated maximum aperture can create cumulative errors as the diaphragm closes. Your f/8 setting might actually be f/7.1 or f/9, affecting hyperfocal distance calculations and sharpness optimization strategies.
📊 Aperture Calibration Workflow: Step-by-Step
Implementing a systematic calibration workflow ensures thorough testing and documentation. Follow this comprehensive process for each fast lens in your collection.
Preparation Phase
Gather necessary equipment: sturdy tripod, test charts or detailed subjects, controlled lighting setup, and notebook for recording results. Ensure your camera battery is fully charged—these tests can be time-consuming.
Set your camera to manual exposure mode with Auto ISO disabled. Choose a moderate ISO (400-800) that represents your typical working conditions. Enable RAW capture for maximum data analysis flexibility.
Testing Protocol
Begin at maximum aperture with consistent exposure settings. Capture three identical frames to verify repeatability. Adjust aperture by one full stop, maintaining shutter speed and ISO, then capture three more frames.
Continue through f/4, f/5.6, and f/8 to establish baseline accuracy across the practical working range. Review exposure data immediately, noting any deviations greater than 1/6th stop between aperture settings.
Data Analysis and Documentation
Import test images into editing software with histogram and exposure analysis tools. Compare actual exposure values against expected results based on your aperture settings.
Create a calibration chart documenting measured versus expected values for each aperture stop. This data informs whether professional service is needed or if in-camera adjustments can resolve discrepancies.
🔧 DIY Calibration vs. Professional Service
Determining when to attempt DIY calibration versus seeking professional service depends on the severity of issues and your technical comfort level.
When DIY Calibration Works
Minor inconsistencies within 1/3 stop often respond well to in-camera fine-tuning adjustments. Electronic communication issues between lens and body sometimes resolve through contact cleaning and firmware updates.
Consistent deviations across the aperture range (all settings reading 1/3 stop over or under) typically indicate electronic calibration drift rather than mechanical problems. These situations often benefit from user-adjustable corrections.
When Professional Service is Necessary
Irregular patterns—such as accurate performance at f/2 and f/4 but incorrect at f/2.8—indicate mechanical problems requiring professional attention. Sticky aperture blades, damaged diaphragm mechanisms, or internal contamination demand factory service.
Lenses exhibiting degraded image quality alongside aperture inconsistencies may have multiple issues requiring comprehensive service. Professional technicians can address mechanical, optical, and electronic problems simultaneously.
Maintaining Calibration Over Time
Aperture calibration isn’t a one-time procedure. Environmental factors, mechanical wear, and usage patterns gradually affect precision, making periodic recalibration necessary.
Establishing a Testing Schedule
Professional photographers should test critical lenses quarterly, especially those used in controlled environments where consistency is paramount. Enthusiast photographers can test annually or when noticing performance changes.
Document all test results in a maintenance log, tracking performance trends over time. Gradual degradation patterns help predict when professional service becomes necessary before critical assignments.
Storage and Handling Best Practices
Proper storage extends calibration stability. Store lenses in climate-controlled environments with moderate humidity (40-50%) to prevent lubricant degradation and electronic corrosion.
Avoid extreme temperature changes that cause expansion and contraction of mechanical components. When traveling between temperature extremes, allow lenses to acclimate gradually before use.
💡 Maximizing Image Quality Beyond Calibration
Proper aperture calibration forms just one component of optical performance optimization. Combining calibration with other best practices unlocks your fast lens’s complete potential.
Understanding Diffraction Limits
Even perfectly calibrated lenses encounter physical limitations. Diffraction begins degrading resolution beyond certain aperture values—typically f/8 to f/11 on full-frame sensors, earlier on smaller sensors.
Fast lenses excel in the f/2 to f/5.6 range where diffraction effects remain minimal. Proper calibration ensures you achieve maximum sharpness within this optimal aperture window without pushing into diffraction-limited territory unnecessarily.
Combining AF Fine-Tuning with Aperture Calibration
Autofocus accuracy and aperture calibration work synergistically. AF systems calibrate based on specific aperture values—typically maximum aperture for phase-detection systems. Aperture miscalibration can confuse autofocus algorithms, creating compounding accuracy problems.
Perform AF fine-tuning after completing aperture calibration. This sequence ensures your focus adjustments account for correct aperture behavior, producing optimal combined performance.
🎬 Real-World Applications and Results
Understanding how aperture calibration translates to practical benefits helps justify the time investment in proper testing and adjustment procedures.
Commercial Photography Demands
Commercial clients expect absolute consistency across image sets. Product photographers using f/4 for optimal depth-of-field require precise aperture accuracy to maintain consistent lighting ratios and focus planes across hundreds of shots.
Properly calibrated apertures ensure identical setup parameters produce identical results, streamlining workflow and reducing post-processing time. This consistency translates directly to increased productivity and client satisfaction.
Creative Control in Artistic Work
Fine art photographers intentionally manipulating depth-of-field for creative effect depend on predictable aperture behavior. A portrait photographer working at f/2 for selective focus needs confidence that f/2 produces exactly the intended aesthetic effect.
Calibration precision transforms aperture from approximate setting to precise creative tool, enabling reproducible artistic vision across projects and sessions.
The Future of Aperture Control Technology
Lens and camera manufacturers continue advancing aperture technology, introducing innovations that enhance calibration accuracy and user control.
Newer electromagnetic aperture systems offer finer step control—some lenses now support 1/3 or even 1/8 stop increments with improved accuracy. Electronic communication protocols continue evolving, reducing calibration drift through more sophisticated error-checking algorithms.
Computational photography techniques increasingly complement optical aperture control. Focus stacking, synthetic aperture adjustment, and AI-enhanced depth-of-field manipulation provide post-capture flexibility, though they cannot fully replace proper optical calibration for real-time shooting situations.
🏆 Mastering Your Fast Glass Investment
Premium fast lenses represent significant investments deserving proper calibration maintenance. The difference between simply owning an f/2.8 lens and truly mastering its capabilities lies in understanding and optimizing aperture behavior.
Photographers who commit to regular testing, documentation, and calibration maintenance consistently achieve superior results. This technical mastery frees creative energy, allowing focus on composition, lighting, and artistic vision rather than technical troubleshooting.
The journey from casual fast lens user to aperture calibration master requires patience and systematic approach. However, the rewards—consistent exposure, predictable depth-of-field, reliable autofocus, and maximum image quality—justify the effort many times over.
Whether you shoot portraits at f/1.4, events at f/2.8, or landscapes stopped down from fast glass, understanding aperture calibration principles elevates your technical foundation. This knowledge transforms your relationship with your lenses from simple tool usage to complete optical system mastery.
Begin implementing these calibration techniques with your most-used fast lenses. Document baseline performance, address any discovered inconsistencies, and establish maintenance routines. Your images will reflect the improved precision, and your confidence in your equipment will grow with each perfectly calibrated shot.


