
Astrophotography under moonlit skies challenges even experienced photographers, but mastering image stacking techniques can transform light-polluted captures into stunning celestial portraits.
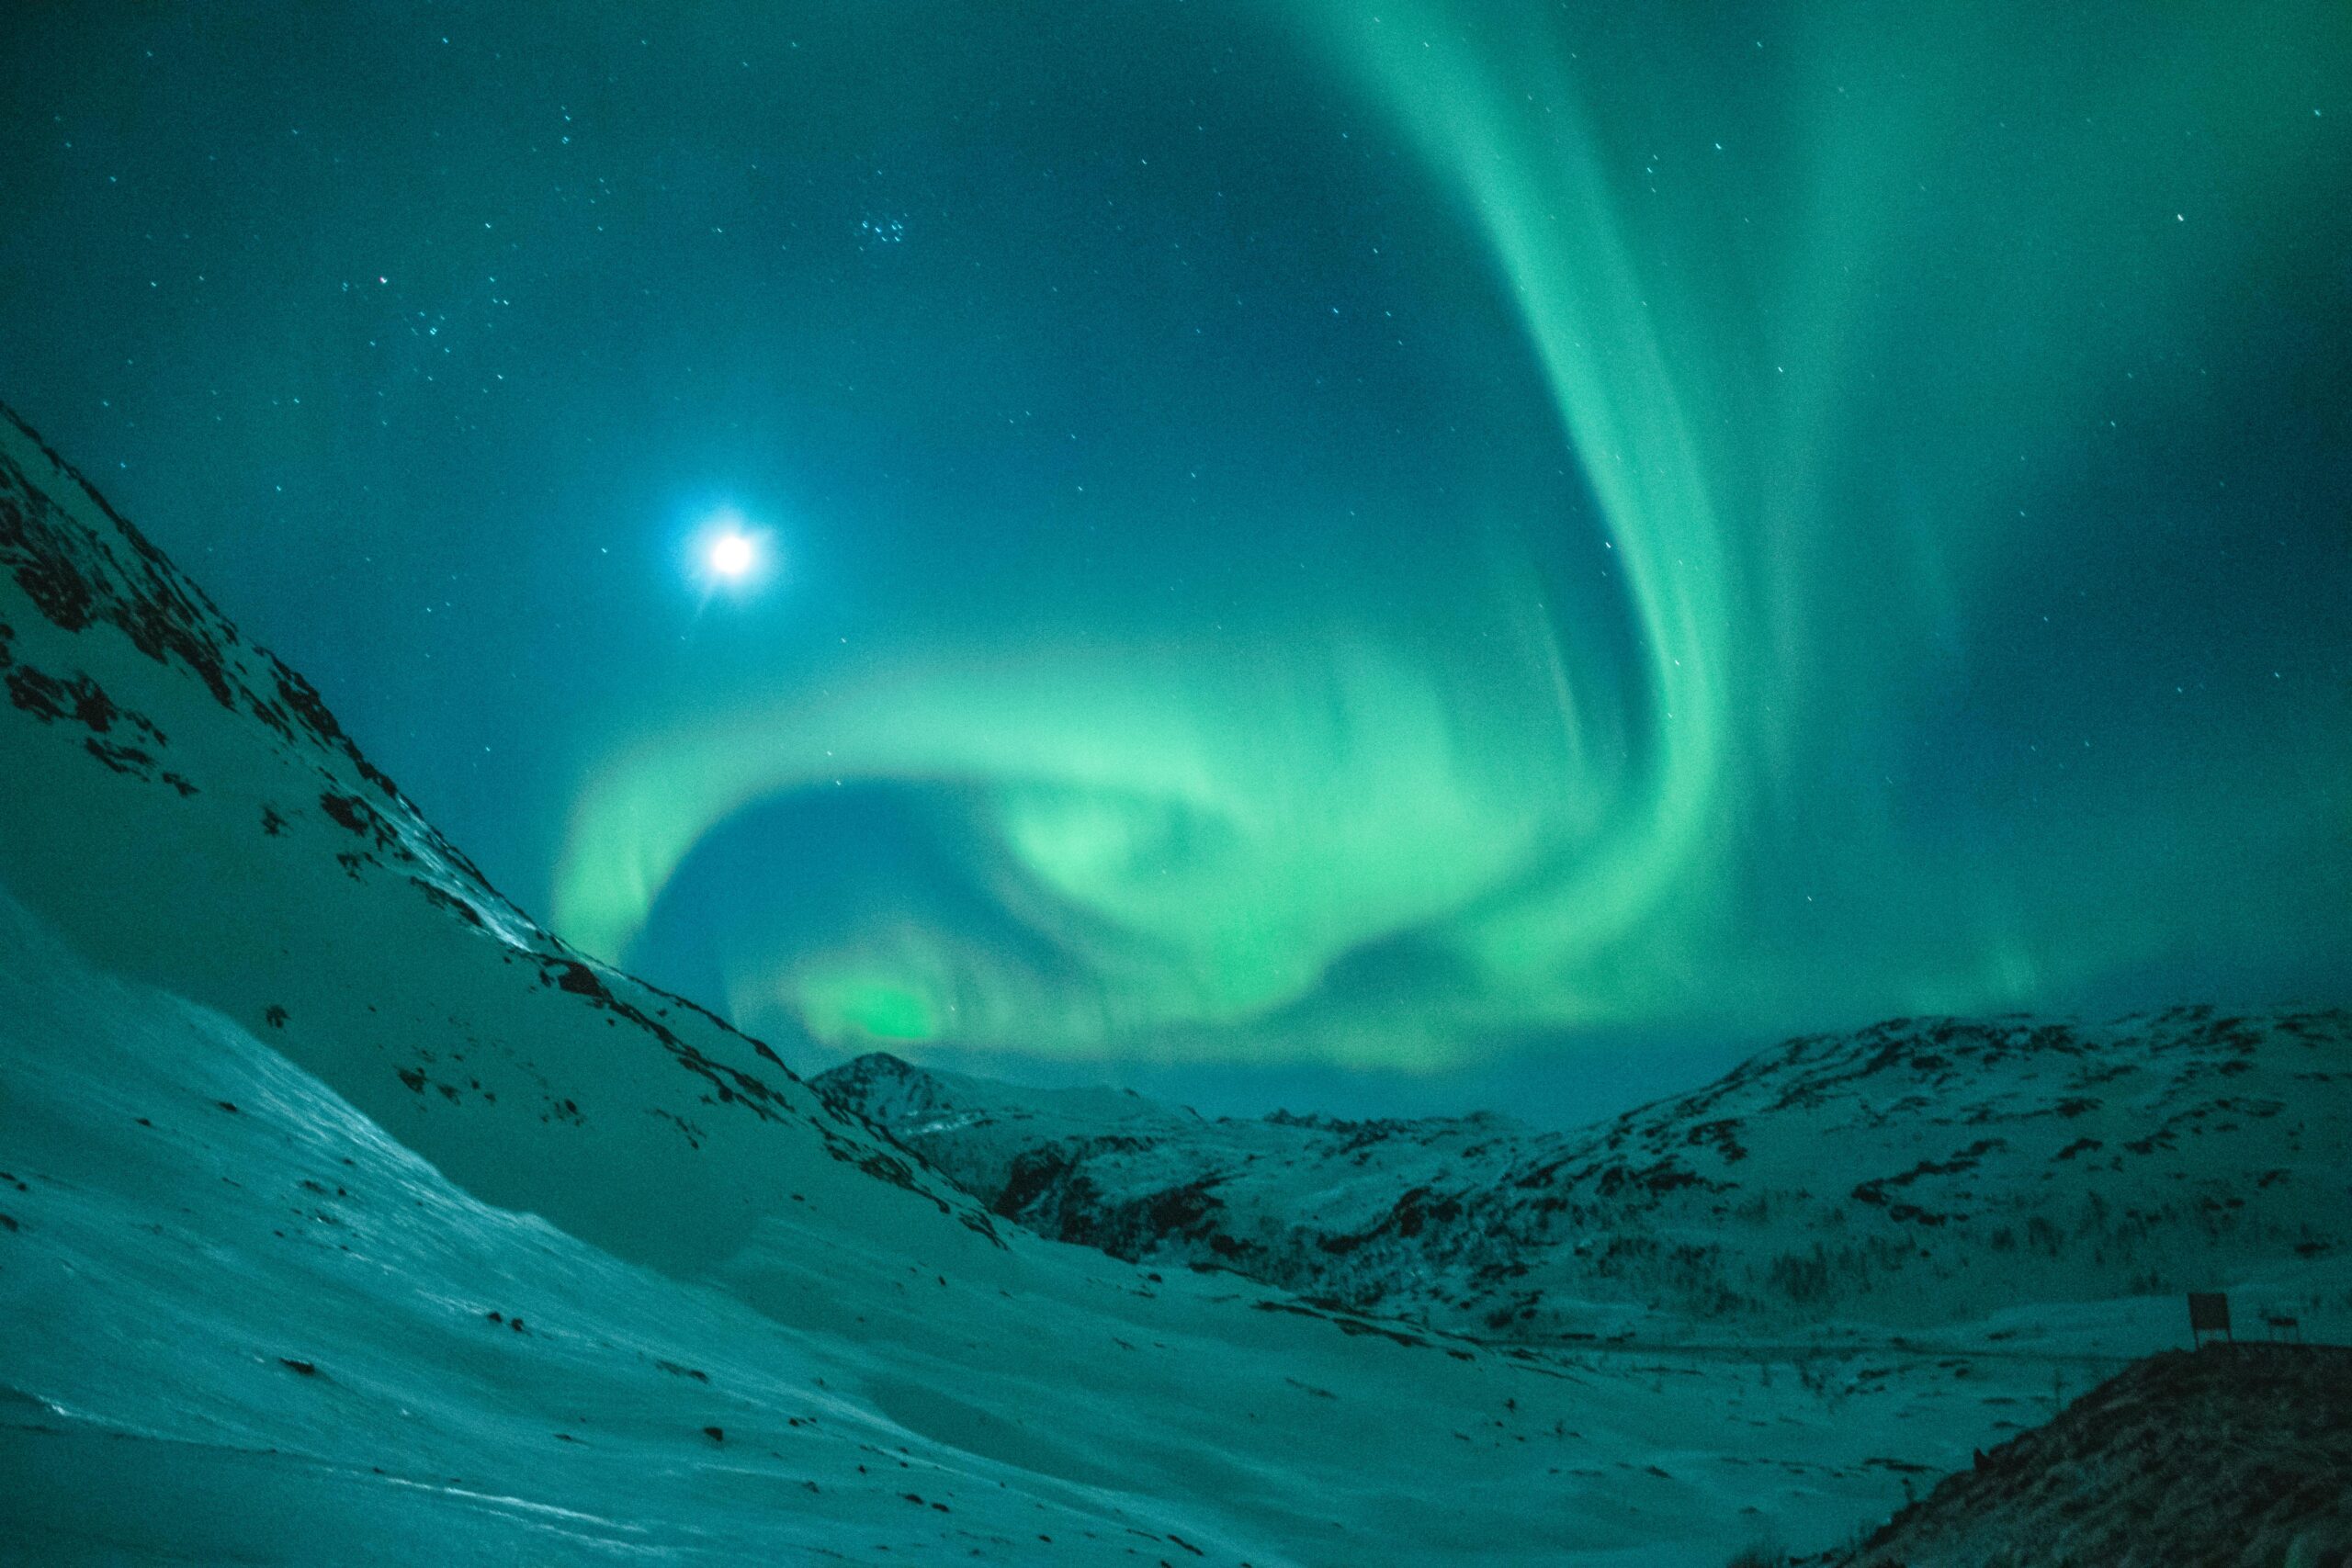
🌙 Understanding the Dual Challenge: Moon Glow and Urban Lights
Light pollution has become the nemesis of modern astrophotography, but when combined with moonlight, the challenge intensifies exponentially. The moon itself acts as a natural light pollutant, washing out faint celestial objects while simultaneously creating atmospheric glow that competes with your target subjects.
Urban and suburban photographers face a particularly difficult situation. Streetlights, buildings, and vehicle headlights contribute to sky glow that can render traditional single-exposure astrophotography nearly impossible. However, this is precisely where image stacking becomes your most powerful ally.
The relationship between moonlight and artificial light pollution creates a complex dynamic. While both contribute to elevated background brightness, moonlight offers more predictable patterns. Understanding lunar phases, rise and set times, and how moonlight interacts with atmospheric conditions allows you to strategically plan your imaging sessions.
The Science Behind Stacking Success
Image stacking works on a fundamental principle: signal accumulates while noise averages out. When you capture multiple exposures of the same celestial target and align them precisely, the random noise patterns cancel each other while the consistent signal from stars and deep-sky objects strengthens.
Think of it as archaeological excavation. Each individual frame contains buried treasure—faint photons from distant galaxies—covered by layers of noise and light pollution. By stacking dozens or hundreds of frames, you’re essentially removing those obscuring layers to reveal the hidden details beneath.
The mathematical elegance is simple yet powerful: stacking N frames improves your signal-to-noise ratio by approximately the square root of N. Stack 100 frames, and you achieve roughly 10 times better signal clarity than a single exposure. This multiplicative effect becomes crucial when working under compromised skies.
Why Traditional Long Exposures Fail Under Light Pollution
A common misconception among beginners is that longer exposures automatically capture fainter objects. While this holds true under dark skies, light-polluted environments follow different rules. Extended exposures simply saturate your sensor with background glow before accumulating meaningful signal from your celestial targets.
The solution lies in shorter, multiple exposures. Instead of a single 300-second exposure that maxes out your histogram with sky glow, capture sixty 5-second exposures. Each short frame stays below the saturation threshold while collectively accumulating far more usable data.
🎯 Selecting Your Equipment for Maximum Efficiency
Your camera sensor plays a critical role in light-polluted imaging. Modern CMOS sensors with enhanced dynamic range and lower read noise provide significant advantages. Full-frame sensors capture more light and better separate signal from background noise, though crop sensors can produce excellent results with proper technique.
Lens selection matters tremendously. Fast apertures (f/2.8 or wider) allow shorter exposures while gathering sufficient light. However, optical quality cannot be compromised—chromatic aberration and coma become more visible after stacking, as the process amplifies both signal and optical imperfections.
For serious astrophotographers working under moonlight, light pollution filters become essential tools. Narrowband filters block specific wavelengths associated with common light sources while passing wavelengths emitted by celestial objects. Broadband light pollution filters offer more versatility for general imaging.
Tracking Mounts: The Difference Between Good and Extraordinary
Accurate tracking transforms your stacking results. Even slight tracking errors accumulate across multiple frames, creating elongated stars and reduced sharpness. A quality equatorial mount with periodic error correction enables longer individual exposures without trailing.
For those without tracking mounts, modern alignment software can compensate for field rotation across shorter stacks. However, untracked imaging limits your exposure times based on focal length and sensor resolution, reducing the total signal you can accumulate.
Planning Your Session Under Moonlit Conditions
Successful moonlit astrophotography requires meticulous planning. Moon phase directly impacts your imaging capabilities. New moon periods offer darkest skies but eliminate moonlight’s potential benefits for foreground illumination in landscape astrophotography. Quarter moons provide balance—enough darkness for deep-sky objects while offering subtle foreground detail.
Timing your session around moonset creates optimal conditions. As the moon descends toward the horizon, sky darkness gradually improves. This transitional period often provides the sweet spot where residual moonlight still illuminates foregrounds while allowing faint celestial objects to emerge.
Several excellent planning applications help predict sky conditions and celestial positions. PhotoPills stands out for its comprehensive moon calculator, light pollution map integration, and augmented reality features that show precisely where celestial objects appear relative to your location.
🔧 Mastering the Capture Process
Exposure settings demand careful calibration. Start with ISO values between 1600-3200 for most modern cameras. Higher ISOs don’t necessarily improve results under light pollution—they simply bring you closer to saturation faster. Your goal is maximizing sensor well depth utilization without clipping highlights.
Aperture selection balances light gathering with optical quality. Shoot wide open if your lens performs well, but many lenses benefit from stopping down one stop to reduce aberrations. Test your specific glass to understand its sweet spot.
Shutter speed depends on your setup. With tracking, exposures between 60-180 seconds work well for deep-sky objects under moderate light pollution. Without tracking, follow the NPF rule or 500 rule adjusted for your sensor and focal length to prevent star trailing.
Calibration Frames: Your Secret Weapon
Professional results demand proper calibration. Dark frames subtract sensor thermal noise patterns. Capture these with identical exposure settings but with your lens cap on, preferably at similar ambient temperatures to your light frames.
Flat frames correct vignetting and dust spots. Point your camera at an evenly illuminated surface (a white t-shirt stretched over your lens with a panel light works excellently) and capture frames that histogram around 50% brightness.
Bias frames map read noise patterns. These ultra-short exposures (fastest shutter speed) with lens cap on help software better distinguish between true signal and electronic noise.
Stacking Software: Transforming Data Into Art
Multiple excellent stacking applications exist, each with strengths. DeepSkyStacker remains the gold standard for beginners—free, powerful, and specifically designed for astrophotography. Its automatic star detection and alignment algorithms handle most situations flawlessly.
Sequator offers advantages for landscape astrophotography, preserving foreground detail while stacking skies. This proves invaluable when incorporating terrestrial elements with moonlit illumination.
Advanced users often prefer PixInsight for its sophisticated algorithms and extensive processing tools. However, its steep learning curve and price point make it better suited for serious enthusiasts.
The Alignment Challenge Under Variable Conditions
Moonlit conditions create unique alignment challenges. As moonlight varies across your imaging session, sky brightness and even color balance shift between frames. Modern stacking software compensates for brightness variations, but extreme differences can confuse alignment algorithms.
Quality control before stacking saves frustration. Review frames for tracking errors, passing satellites, aircraft trails, or focus drift. Most stacking programs allow setting quality thresholds to automatically reject problematic frames.
🎨 Post-Stack Processing for Light-Polluted Images
Your stacked master frame emerges looking underwhelming—flat, gray, with minimal contrast. This is normal. The real magic happens during post-processing, where you sculpt the accumulated data into a compelling image.
Background extraction becomes your first priority. Light pollution creates uneven gradients across your frame. Tools like Adobe Photoshop’s Camera Raw gradient removal or specialized astrophotography software like StarTools or PixInsight remove these gradients, revealing hidden detail.
Stretch your histogram carefully. Unlike terrestrial photography, astrophotography often requires aggressive curve adjustments to bring faint nebulosity and galaxies into visible ranges. However, aggressive stretching also amplifies remaining noise and artifacts, demanding a delicate balance.
Selective Enhancement Techniques
Layer-based processing allows targeted adjustments. Separate stars from background nebulosity using luminosity masks or specialized tools. This enables you to shrink bloated stars caused by light pollution while enhancing subtle nebula details independently.
Color correction proves essential with light-polluted data. Sodium vapor streetlights cast orange tints, while LED lighting creates blue-green color casts. Use color balance tools and selective saturation adjustments to restore natural celestial colors.
Advanced Strategies for Extreme Conditions
When moonlight and light pollution combine to create nearly impossible conditions, advanced techniques open new possibilities. Multi-night stacking accumulates data across multiple sessions, dramatically increasing your total signal while averaging out variable noise patterns.
Consider narrowband imaging for emission nebulae. Filters isolating hydrogen-alpha, oxygen-III, and sulfur-II wavelengths block most light pollution while capturing specific nebula emissions. Combine these filtered exposures into false-color composites revealing details invisible to broadband imaging.
Lucky imaging, borrowed from planetary astrophotography, selects the sharpest frames from video capture. Atmospheric turbulence causes rapid quality variations; stacking only the best moments produces sharper results than averaging all frames equally.
⭐ Real-World Examples and Expectations
Setting realistic expectations prevents disappointment. Under Bortle 8-9 skies (bright suburban to inner city), bright galaxies like Andromeda and Orion Nebula remain accessible with proper stacking. Expect 100-300 frames minimum for satisfying results.
Globular clusters and open star clusters prove more forgiving subjects under light pollution. Their concentrated brightness punches through sky glow more effectively than diffuse nebulae. M13, M3, and the Pleiades make excellent targets for learning stacking under compromised skies.
The Milky Way core presents challenges but remains achievable. Time your sessions for when it reaches maximum elevation, minimizing atmospheric interference. Stack 50-100 tracked exposures or 200-300 untracked frames for compelling results.
Continuous Improvement Through Documentation
Maintain detailed imaging logs. Record moon phase, light pollution levels, atmospheric seeing, equipment settings, and frame counts. This data becomes invaluable for identifying patterns in your successful images and troubleshooting problematic sessions.
Compare your results over time. As your technique improves, you’ll extract better results from similar conditions. This tangible progress proves incredibly motivating and helps identify which technique refinements produce the greatest improvements.
🚀 Your Journey From Beginner to Skilled Stacker
Mastering astrophotography under moonlight and light pollution demands patience, practice, and persistence. Your first attempts will humble you—washed-out skies, barely visible targets, and frustrating processing struggles. This is universal. Every accomplished astrophotographer began exactly where you stand now.
Start with bright, forgiving targets. The Orion Nebula remains visible even under significant light pollution. Its brightness tolerates shorter stacks while you develop your workflow. Gradually progress toward more challenging subjects as your skills mature.
Join online communities dedicated to astrophotography. Platforms like CloudyNights, AstroBin, and specialized subreddits provide invaluable feedback, troubleshooting assistance, and inspiration. Seeing what others achieve under similar conditions proves that your limitations lie in technique, not conditions.
The intersection of moonlight and urban skies need not end your astrophotography dreams. Image stacking provides the technology to overcome these obstacles, transforming hostile imaging conditions into mere inconveniences rather than insurmountable barriers. Your location may not change, but your ability to extract celestial beauty from compromised skies certainly can.
Each imaging session teaches new lessons. That aircraft trail through your best frame teaches you to monitor skies more carefully. The focusing error thirty frames into your sequence emphasizes the importance of mid-session checks. These aren’t failures—they’re tuition paid in the school of practical astrophotography.
The universe awaits your attention, regardless of the streetlights surrounding you or the moon illuminating your neighborhood. Armed with stacking techniques, proper planning, and persistent practice, you’ll capture cosmic wonders that casual observers assume impossible from your location. The light pollution remains, but it no longer defines what you can achieve—your skills do.


