
Aperture is the gateway to transforming ordinary snapshots into stunning, professional-grade photographs that capture attention and tell compelling visual stories.
Every photographer, whether just starting out or refining their craft, eventually encounters the mysterious world of aperture settings. This fundamental element of the exposure triangle doesn’t just control how much light enters your camera—it dramatically affects depth of field, sharpness, and the overall aesthetic quality of your images. Understanding and mastering aperture is the difference between frustrating, inconsistent results and reliably crisp, clear shots that showcase your creative vision.
The challenge many photographers face isn’t simply learning what aperture is, but rather knowing how to calibrate and optimize it for different shooting scenarios. Camera lenses can suffer from optical imperfections, autofocus inconsistencies, and manufacturing variations that affect image sharpness. Without proper calibration and a systematic approach to aperture selection, even expensive professional equipment can produce disappointing results.
🔍 Understanding Aperture Beyond the Basics
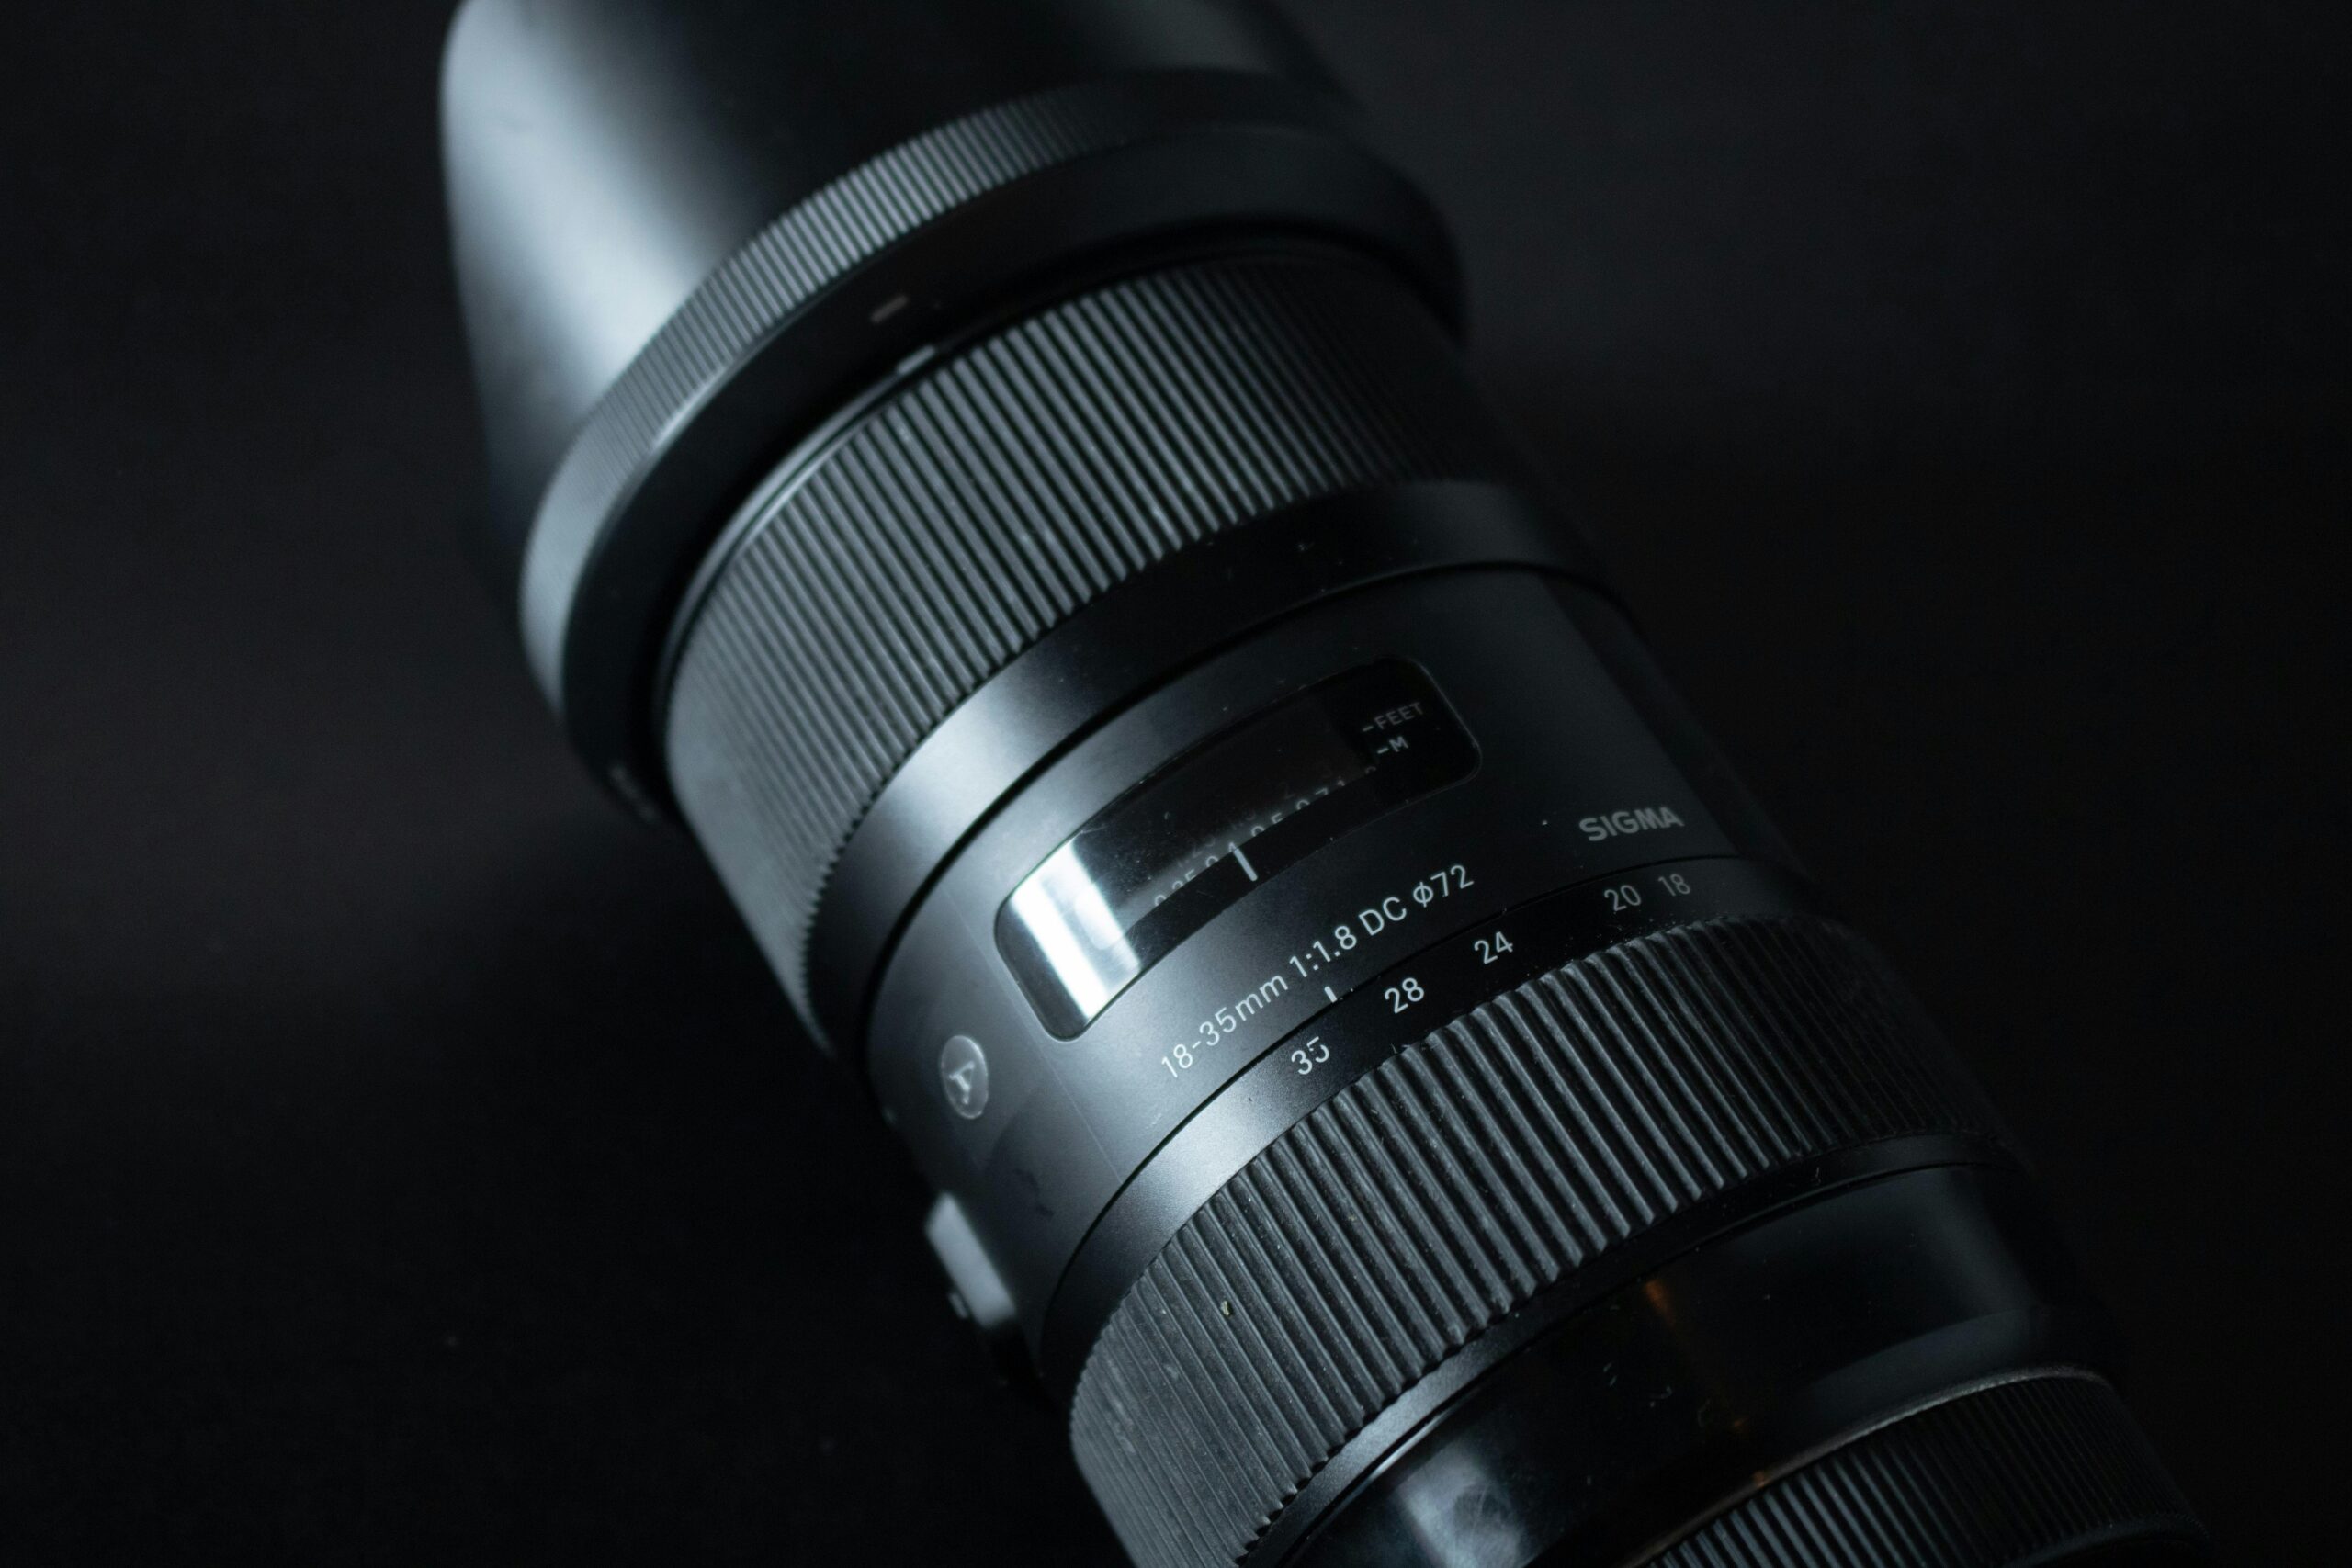
Aperture refers to the opening in your lens through which light passes to reach the camera sensor. Measured in f-stops (like f/1.4, f/2.8, f/5.6, f/11), this adjustable diaphragm controls both exposure and depth of field. The relationship is counterintuitive at first—smaller f-numbers represent larger apertures that allow more light, while larger f-numbers mean smaller openings with less light transmission.
What many photographers don’t realize is that every lens has a “sweet spot”—an aperture range where optical performance peaks. Shooting wide open at maximum aperture often introduces optical aberrations like chromatic aberration, vignetting, and reduced corner sharpness. Conversely, stopping down too much leads to diffraction, which softens overall image quality. Finding that optimal range for each lens in your collection is essential for consistently sharp images.
Beyond technical sharpness, aperture choice profoundly impacts creative expression. A wide aperture like f/1.8 creates beautiful background blur (bokeh) that isolates subjects, perfect for portraits and artistic photography. Narrow apertures like f/16 maximize depth of field, keeping landscapes sharp from foreground to infinity. Mastering this creative dimension requires both technical knowledge and practical experience.
📋 The Comprehensive Aperture Calibration Checklist
Proper aperture calibration ensures your camera and lens combination performs at its absolute best. This systematic approach addresses common issues that degrade image quality, from focus accuracy problems to optical imperfections that vary across the aperture range.
Pre-Calibration Setup Requirements
Before beginning any calibration process, ensure you’re working in optimal conditions. Set up in a well-lit environment with consistent lighting—natural window light or continuous artificial lighting works best. Mount your camera on a sturdy tripod to eliminate any possibility of camera shake affecting your test results. Disable image stabilization when using a tripod, as it can sometimes introduce micro-movements that compromise sharpness.
Use your camera’s electronic level to ensure perfect alignment, particularly important when testing lenses for corner-to-corner sharpness. Set your camera to RAW format to capture maximum detail and dynamic range for analysis. Disable any in-camera sharpening, contrast adjustments, or picture profiles that might mask the true optical performance of your lens.
Step-by-Step Autofocus Fine-Tuning
Many modern cameras offer autofocus microadjustment (also called AF fine-tune), allowing you to correct front-focus or back-focus issues that prevent critically sharp images. This calibration is lens-specific and essential for achieving optimal results, especially with fast prime lenses where shallow depth of field makes focus accuracy critical.
Position your camera exactly 50 times the focal length from your test target—for a 50mm lens, that’s 2.5 meters. Use a specialized focus calibration chart or ruler positioned at a 45-degree angle. Focus on the center reference point, take test shots at your lens’s widest aperture, and examine the results at 100% magnification to determine if focus is landing in front of (front-focus) or behind (back-focus) your target.
Adjust the AF microadjustment setting incrementally, typically in the range of -20 to +20, retesting after each adjustment. Once perfect focus is achieved, save the setting to your camera’s memory for that specific lens. Repeat this process for each lens in your collection, as adjustments vary by individual lens and camera body combination.
Identifying Your Lens Sweet Spot
Every lens delivers maximum sharpness at specific apertures, typically 2-3 stops narrower than wide open. Discovering this sweet spot for each lens transforms your photography by ensuring you’re always working with optimal optical performance when sharpness is paramount.
Conduct a systematic aperture test series using a detailed test target placed perpendicular to your camera sensor. Shoot the same scene at every full f-stop your lens offers, from wide open to minimum aperture. Keep all other settings constant—use the same ISO, adjust shutter speed for consistent exposure, and work from a tripod.
Examine your test images at 100% magnification on your computer, comparing center sharpness, mid-frame performance, and corner resolution at each aperture. Note where sharpness peaks and where diffraction begins to soften details. Most lenses perform best between f/5.6 and f/11, though fast primes often excel at f/2.8 to f/4. Document these findings for quick reference during actual shoots.
💡 Aperture Selection Strategies for Different Scenarios
Understanding aperture technically is just the beginning—applying this knowledge strategically in real-world shooting situations separates competent photographers from true masters. Different genres and conditions demand different aperture approaches for optimal results.
Portrait Photography Perfection
Portrait work typically demands subject isolation through shallow depth of field, achieved with wider apertures. However, shooting at maximum aperture like f/1.4 creates challenges—the plane of sharp focus becomes razor-thin, making it difficult to keep both eyes sharp when shooting at an angle. Additionally, wide-open performance often introduces optical aberrations and softer rendering.
For most portrait situations, stopping down 1-2 stops from maximum aperture provides the ideal balance. An f/1.4 lens performs beautifully at f/2 or f/2.8, delivering gorgeous bokeh while ensuring sufficient depth to keep facial features sharp. For group portraits, narrow to f/5.6 or f/8 to ensure everyone remains in acceptable focus, especially when arranged at different distances from the camera.
Consider your focal length relationship to aperture selection. Longer lenses compress background elements and create shallower depth of field at equivalent apertures compared to wider lenses. A 85mm lens at f/2.8 produces significantly more background blur than a 35mm lens at the same aperture, requiring adjustment based on your creative vision and working distance.
Landscape and Architecture Excellence
Landscape photography traditionally demands maximum depth of field to render scenes sharp from immediate foreground through distant background. This requirement typically suggests narrow apertures like f/16 or f/22, but blindly following this approach often produces disappointing results due to diffraction effects that soften details.
The optimal landscape aperture typically falls between f/8 and f/13, where most lenses balance depth of field with sharpness. When working with nearby foreground elements and distant backgrounds, use focus stacking techniques—take multiple shots focused at different distances and blend them in post-processing for sharpness throughout that exceeds what any single aperture can deliver.
Calculate hyperfocal distance for your lens and aperture combination to maximize depth of field efficiency. Focusing at the hyperfocal distance ensures acceptable sharpness from half that distance to infinity, eliminating wasted depth of field behind your furthest subject. Numerous smartphone applications can calculate hyperfocal distance instantly in the field.
Action and Sports Photography Tactics
Sports and action photography presents unique aperture challenges—you need fast shutter speeds to freeze motion, requiring wider apertures for adequate exposure, but you also need sufficient depth of field to maintain focus on moving subjects. This balancing act becomes especially critical in variable lighting conditions.
Generally, aperture priority between f/2.8 and f/4 provides the sweet spot for action work with telephoto lenses. These apertures gather enough light for fast shutter speeds while providing sufficient depth of field to accommodate slight focus tracking errors or unexpected subject movement toward or away from the camera. Modern high-ISO performance allows pushing sensitivity when necessary rather than compromising aperture.
Consider the direction of movement relative to your camera position. Subjects moving parallel to your sensor plane require less depth of field than those moving toward or away from you. Adjust aperture accordingly—tighter depth of field for parallel movement, more cushion for approach/departure angles where focus tracking becomes more critical.
🛠️ Tools and Techniques for Aperture Mastery
Consistent photographic excellence requires more than knowledge—it demands practical tools and systematic techniques that transform understanding into reliable results. Building an effective calibration and shooting workflow ensures you consistently achieve optimal aperture performance.
Essential Testing Equipment and Software
Invest in quality testing targets specifically designed for lens calibration. Focus pyramids, alignment charts, and detailed resolution targets provide standardized references for evaluating lens performance. These tools remove guesswork, providing objective data about autofocus accuracy, optical sharpness across the aperture range, and aberration characteristics.
Software solutions enhance your ability to analyze and optimize results. Post-processing applications like Lightroom and Capture One allow detailed examination of focus accuracy and sharpness. Specialized lens calibration software provides automated testing workflows, generating comprehensive reports about lens performance characteristics across different apertures and focus distances.
Modern smartphones offer powerful field companions for aperture-related calculations. Depth of field calculators instantly show the precise focus range for any lens, aperture, and focus distance combination. Hyperfocal distance applications optimize landscape focusing. These tools eliminate mathematical complexity, allowing concentration on creative decisions rather than technical calculations.
Building Your Aperture Reference Library
Create a personalized reference document for each lens you own, recording calibration settings, sweet spot apertures, and performance characteristics. Include sample images showing bokeh quality, corner sharpness at different apertures, and notes about focusing quirks or tendencies. This practical reference accelerates your workflow by eliminating repeated testing and uncertainty.
Organize your reference library by shooting scenario, documenting proven aperture strategies for situations you regularly encounter. Record successful aperture choices for wedding ceremonies in various venues, outdoor sports events in different lighting, or landscape locations with particular depth challenges. This accumulated experience becomes invaluable knowledge that consistently delivers results.
⚙️ Common Aperture Problems and Solutions
Even with careful calibration and solid technique, photographers encounter aperture-related challenges that compromise image quality. Recognizing these issues and knowing effective solutions ensures you can troubleshoot problems quickly and maintain consistent performance.
Addressing Inconsistent Sharpness
When images appear sharp in the viewfinder but disappoint upon review, several aperture-related factors might be responsible. Autofocus accuracy issues top the list—front or back focus problems become increasingly apparent with shallow depth of field at wide apertures. Implement the autofocus calibration checklist to correct these mechanical issues.
Camera or subject movement during exposure also creates sharpness problems that mimic aperture issues. Ensure your shutter speed is adequate for your focal length—the traditional 1/focal length rule remains relevant, though image stabilization extends acceptable limits. When shooting wide open apertures require slower shutter speeds, support your camera properly or increase ISO to maintain adequate shutter speeds.
Lens quality and condition significantly impact sharpness potential across all apertures. Dust, moisture, or fungus on lens elements degrades optical performance. Front and rear element damage, even minor scratches, affects image quality. Regularly inspect and professionally clean your lenses to maintain optimal performance.
Managing Depth of Field Challenges
Insufficient or excessive depth of field frustrates photographers when aperture selection doesn’t deliver expected results. Remember that aperture represents just one factor in the depth of field equation—focal length, focus distance, and sensor size all contribute significantly to the final result.
When you can’t achieve sufficient subject isolation despite using maximum aperture, increase focal length (move to a longer lens) or decrease focus distance (move closer to your subject). Both changes dramatically reduce depth of field. Conversely, when maximum depth of field remains insufficient even at narrow apertures, increase focus distance, use a wider focal length, or implement focus stacking techniques.
For micro-adjustment of depth of field when aperture changes would affect exposure unacceptably, slight focus distance adjustments provide control. Moving incrementally closer or further from your subject shifts the depth of field plane without changing depth of field extent, allowing precise control over exactly which elements fall within acceptable sharpness.
📸 Practical Calibration Workflow Integration
Knowledge becomes powerful only through consistent application. Integrating aperture calibration and optimization into your regular photography workflow ensures you maintain peak performance over time as equipment ages and shooting requirements evolve.
Schedule quarterly calibration checks for your primary lenses, more frequently for equipment used in challenging conditions or subjected to travel stress. Environmental factors, physical impacts, and simple aging gradually shift optimal settings. Regular recalibration catches these changes before they significantly compromise image quality.
Before important shoots, conduct abbreviated calibration verification using simplified test protocols. Quick autofocus checks and sweet spot confirmation take just minutes but provide confidence that your equipment is performing optimally when results matter most. This pre-shoot ritual prevents discovering problems when recovery isn’t possible.
Document calibration dates, settings, and any performance changes in your equipment records. This historical data reveals trends over time, indicating when professional servicing might be beneficial or when equipment performance has degraded sufficiently to warrant replacement. Informed equipment decisions prevent frustration and ensure your tools match your creative ambitions.
🎯 Achieving Consistency Through Systematic Practice
Mastering aperture fundamentally changes your photography, elevating technical quality while expanding creative possibilities. The calibration checklist and strategies outlined provide a comprehensive foundation for achieving consistently crisp, clear shots across diverse shooting scenarios. However, knowledge alone produces results only through deliberate, systematic application.
Commit to practicing aperture techniques consciously during every shooting session. Rather than relying on automatic modes or habitual settings, deliberately choose apertures based on technical requirements and creative vision. Analyze your results critically, identifying successes to repeat and problems to address through refined technique or additional calibration.
The path from understanding aperture conceptually to mastering it practically requires patience and persistence. Each lens possesses unique characteristics requiring individual calibration. Different shooting scenarios demand tailored approaches. Building this practical expertise takes time, but the investment transforms your photography permanently, providing reliable control over one of the most powerful creative and technical tools in your photographic arsenal.
Your journey toward aperture mastery begins with the first calibration check, continues through countless practical applications, and evolves throughout your photographic career. Armed with proper calibration techniques, strategic selection guidelines, and troubleshooting knowledge, you now possess everything needed to achieve consistently excellent results. The crisp, clear shots you’ve always envisioned are within reach—your calibrated equipment and refined technique ensure success every time you press the shutter.


